It’s been awhile since my last post, so I figured I’d put out this one I just finished. One more time where my little workbench was the last possible stop for this lost cause. The owner brought it to me because a previous owner had attempted to fix it, but only made it worse. No self-respecting luthier would do anything with this guitar other than completely replace the neck, to the tune of about a $1000….. fortunately I’m not a luthier, so the rules don’t really apply.
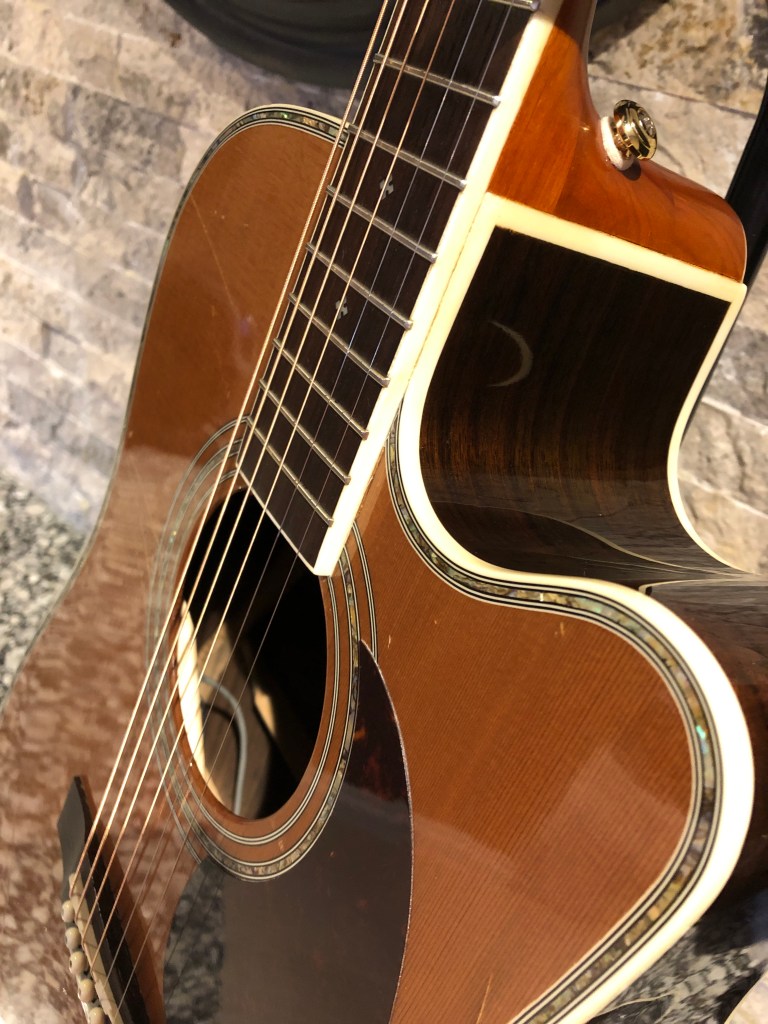
For those that don’t know Zager guitars – they are ultra high-end luthier built guitars from Lincoln Nebraska. Quite coveted and very expensive.
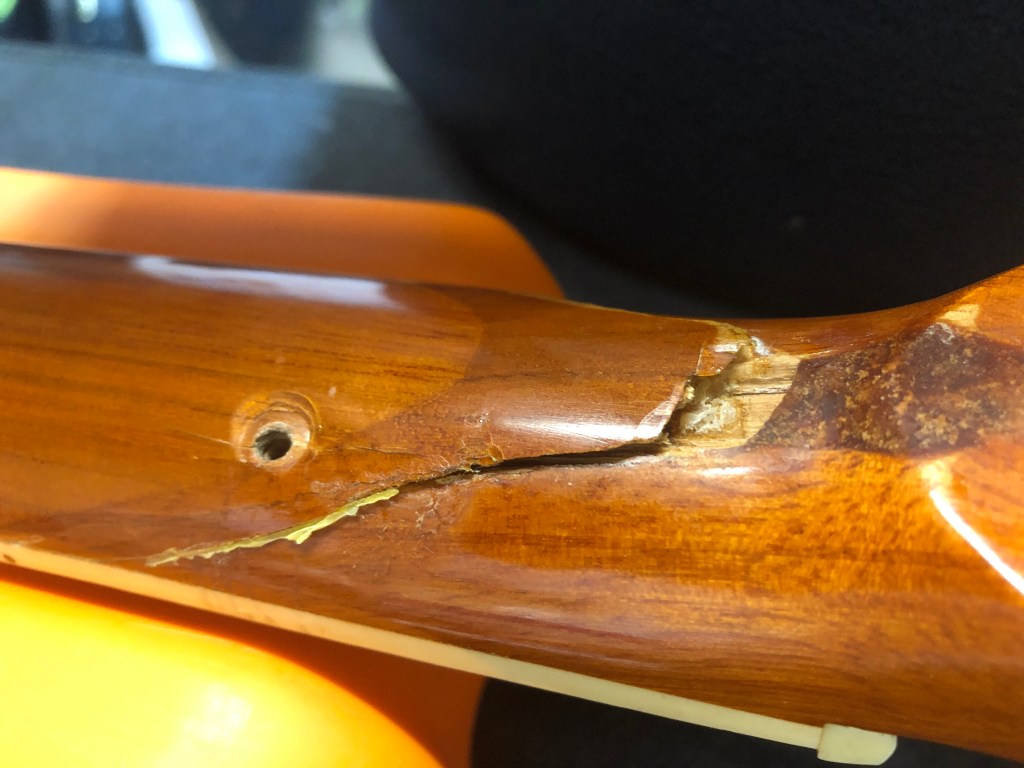
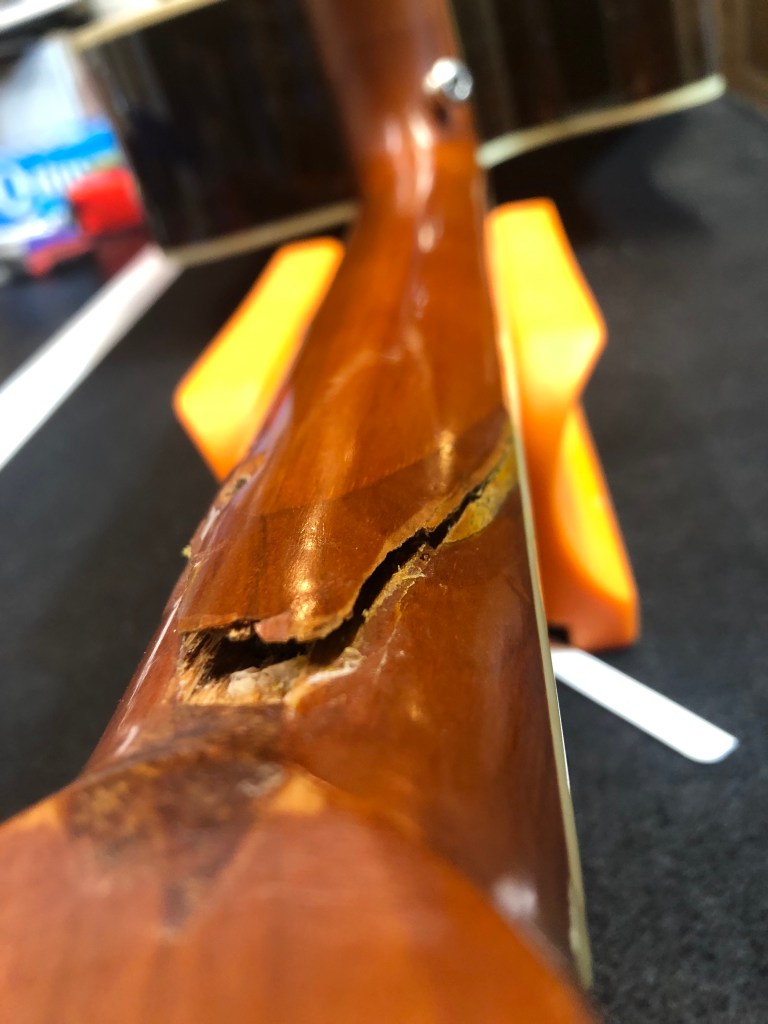
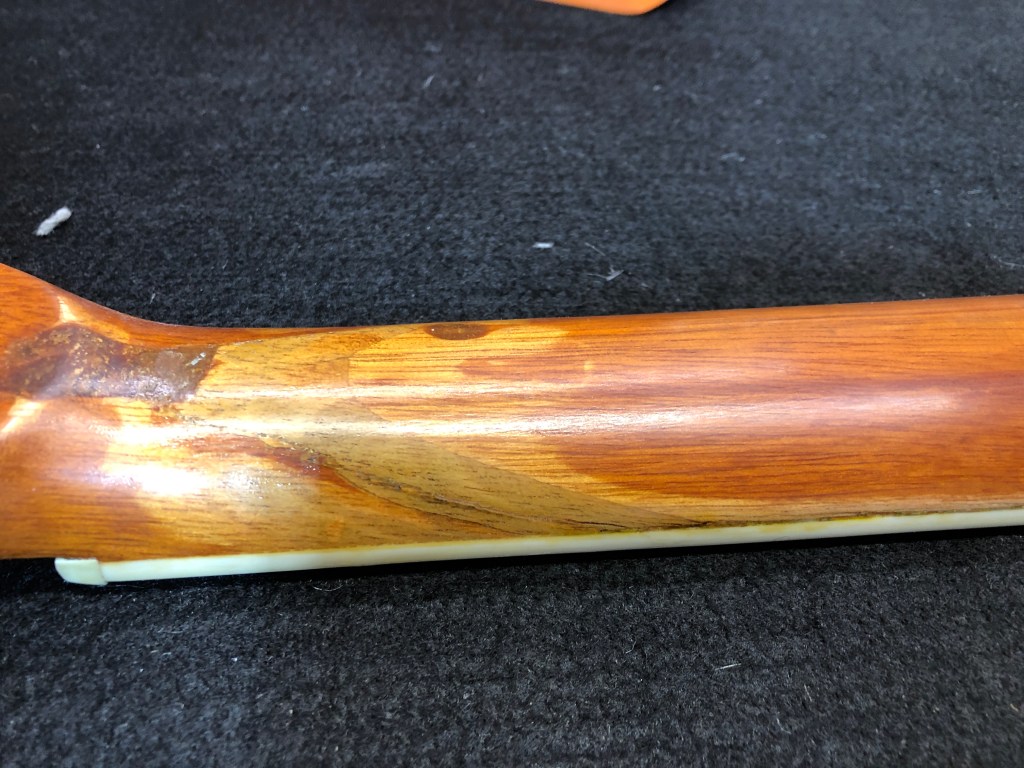
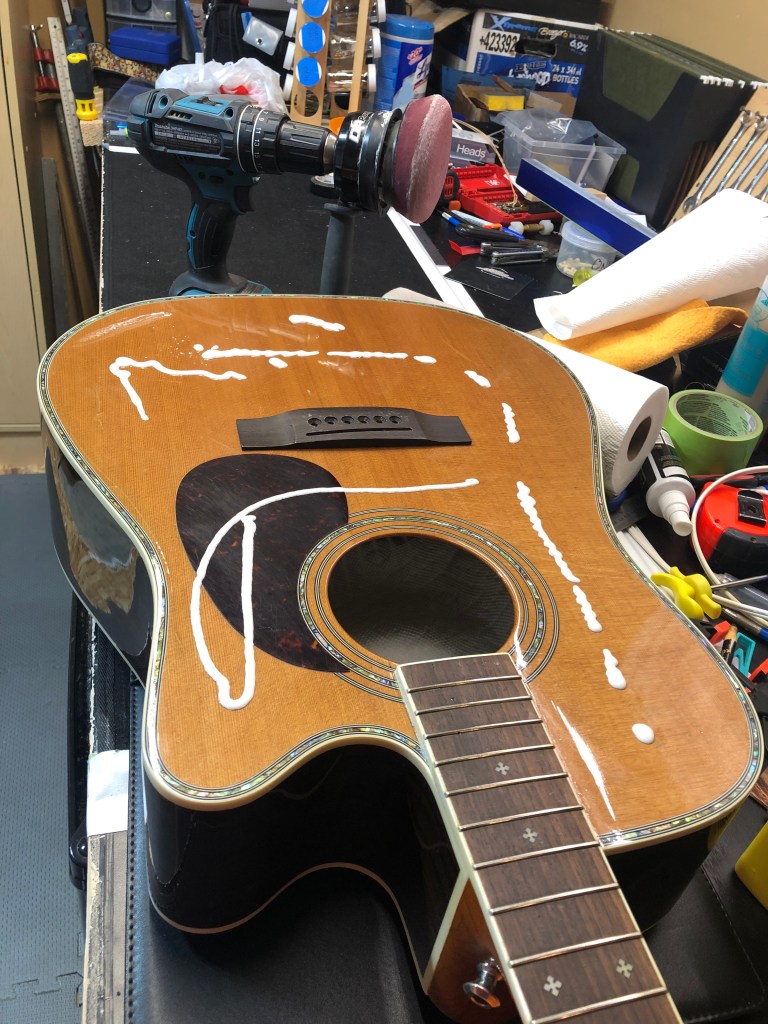
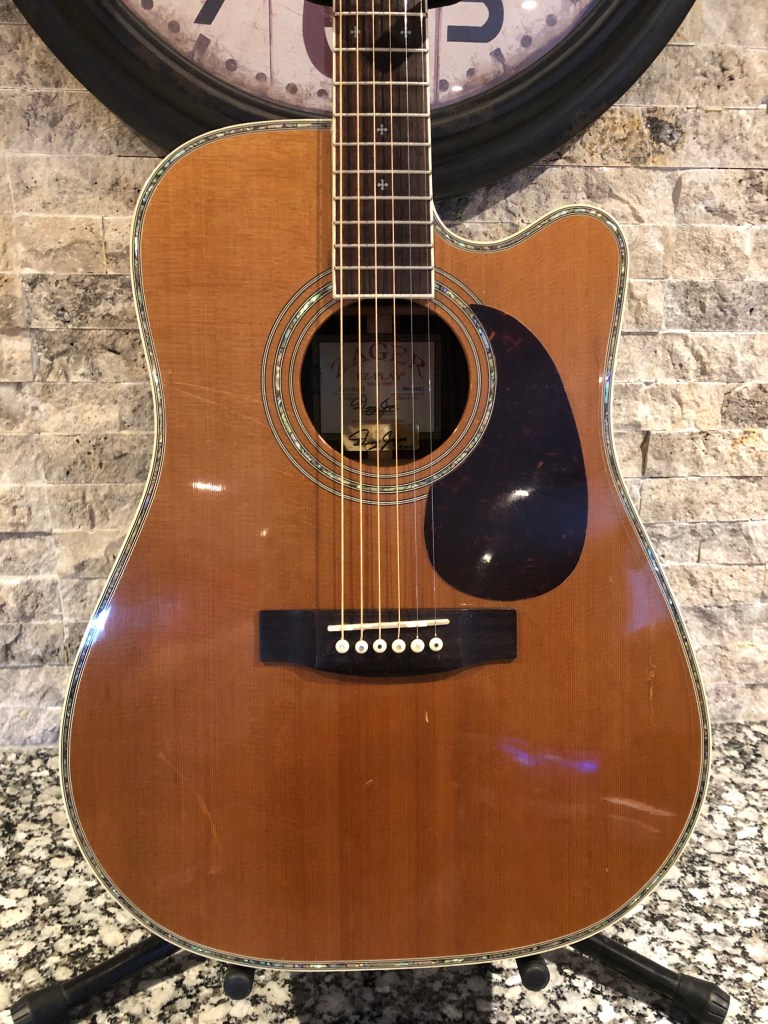
So let’s look at the way it looked when I got it…
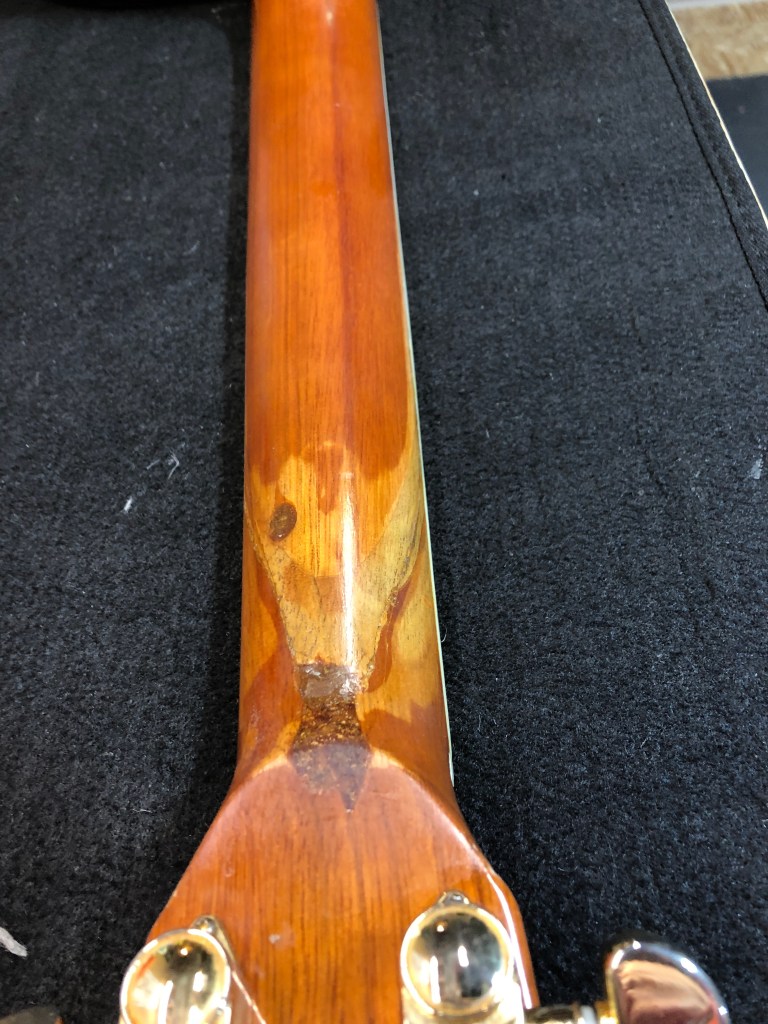
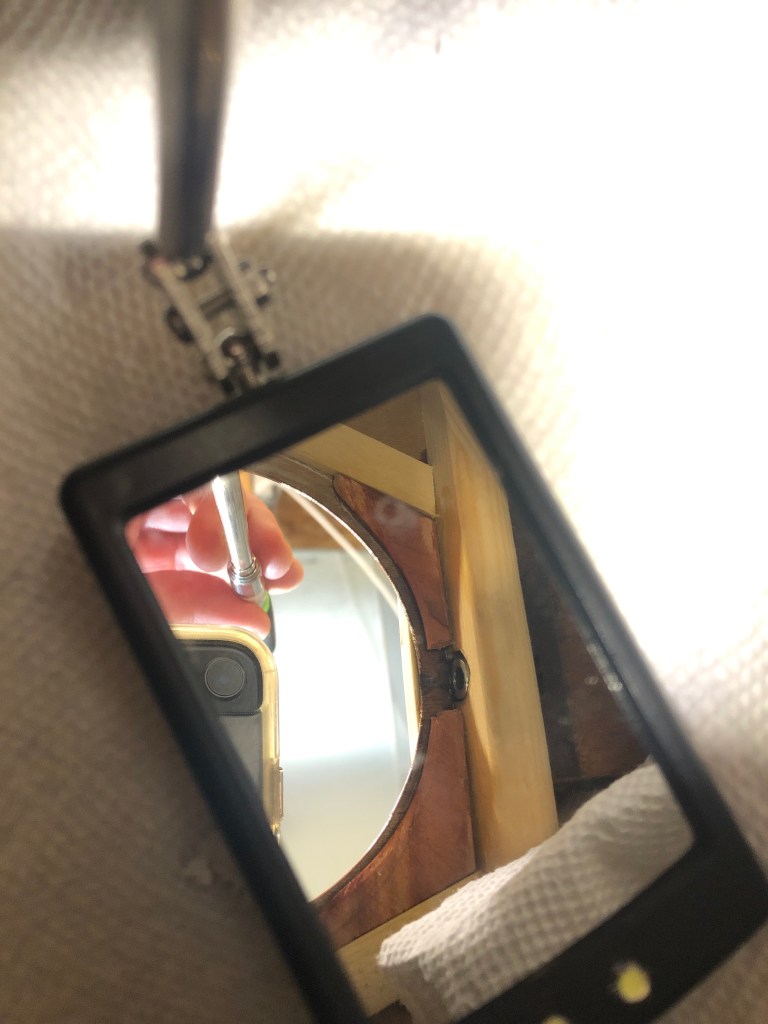
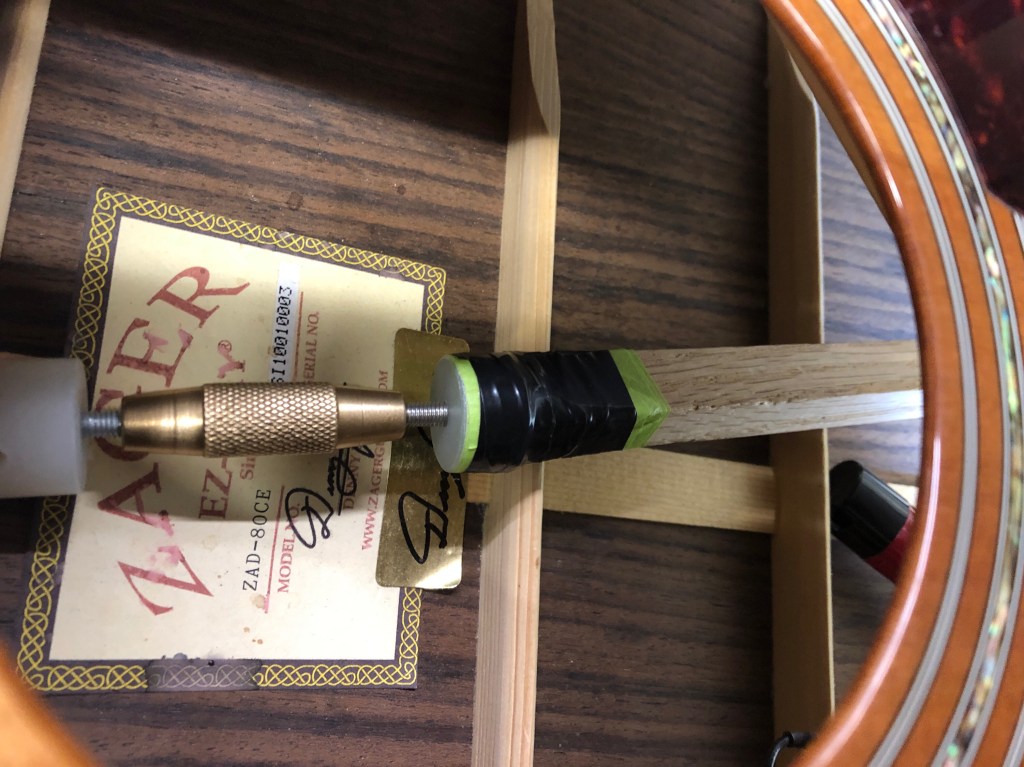
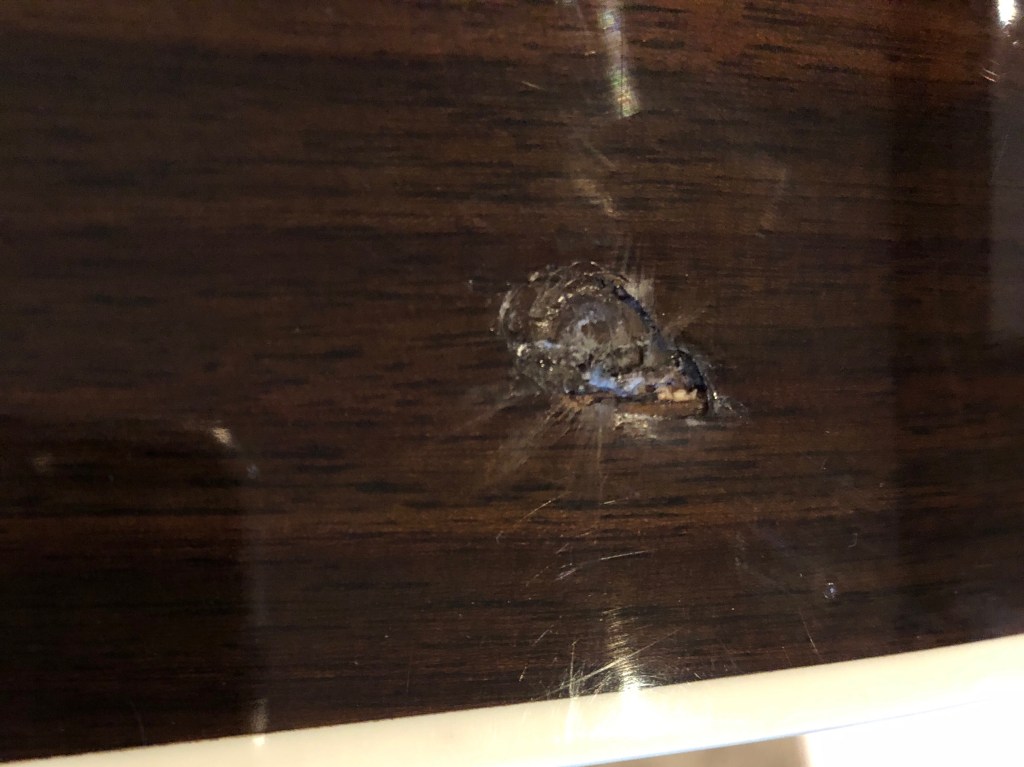
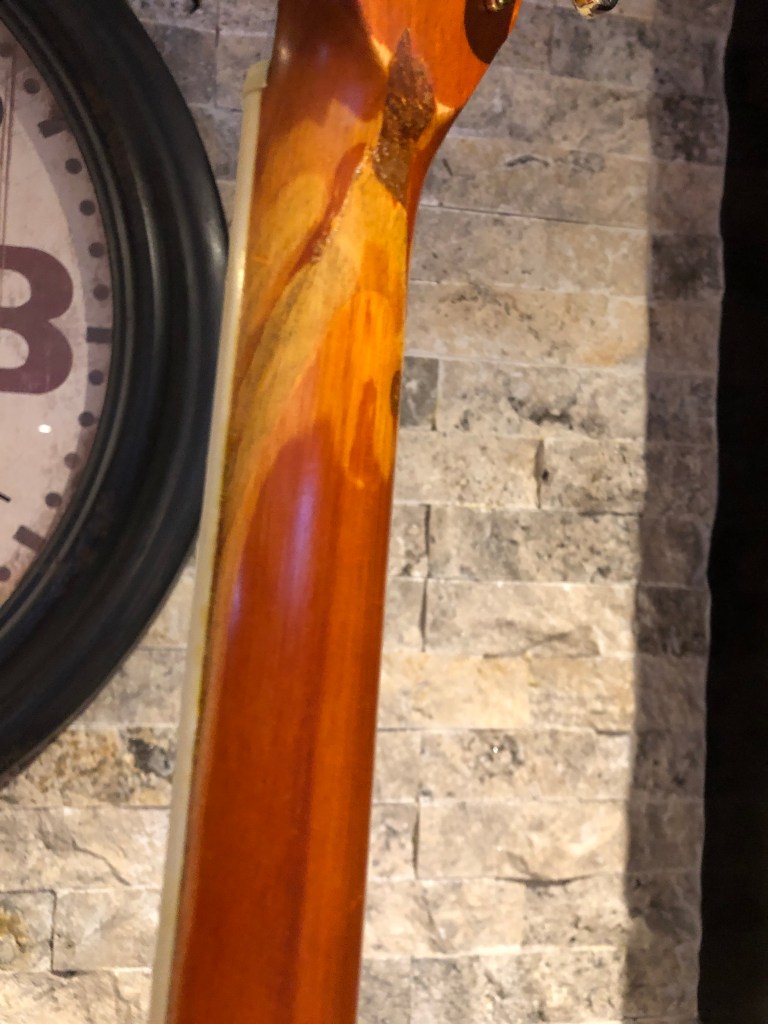
Broken neck. Previously glued (but not well), and a screw hole – seriously, a screw hole. The previous fix had left a gap about a third of the way up the fretboard, and the fretboard was a little off-centre. Split cedar top, starting at the top of the sound hole and running up alongside the neck. Step one was to get as much of the gap open and scrape out all the old glue. So, I figured out that an old A string was the right thickness and had enough grit to run it down crack and sand the inside of the break. Cleaned out the break enough that it closed up nice and tight. So injected some good old Weldbond glue using a thin gauge needle. Clamped overnight and here it is pretty good and solid. But rough and still unplayable. Filled the screw hole with some mahogany dust and sealed with Cyanoacrylate glue. All chips and holes filled. All sanded smooth and added a coat of hand-rubbed shellac to seal the neck. Smoothed out the whole neck, all the way up the fretboard. Next, cut a brace foe under the top of the sound hole to reinforce the top and prevent any worse cracking. Cedar cleats installed. Should stabilize the top indefinitely. Puncture hole through the bottom of the guitar. Not too bad, but it was flaking inside and out. Puncture – looking from the inside. Devised a rod with a screw end to put pressure on the puncture and close it up for gluing. Braced against the body of the guitar. Crack closed up completely. With pressure on the inside, dropped cyanoacrylate glue through the outside of the crack and it seeped into all the crevices. The lacquer is still missing, but the wood is all back together and solid. No more risk of peeling or flaking. Buffing compound to polish out as much of the previous abuse as possible.
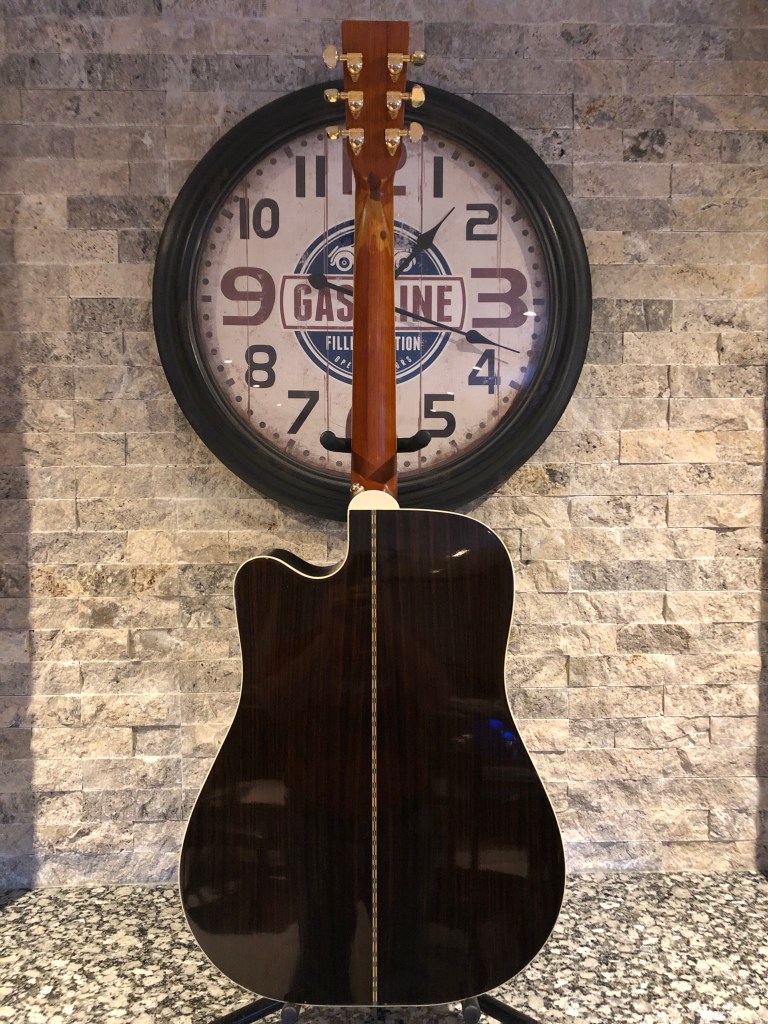
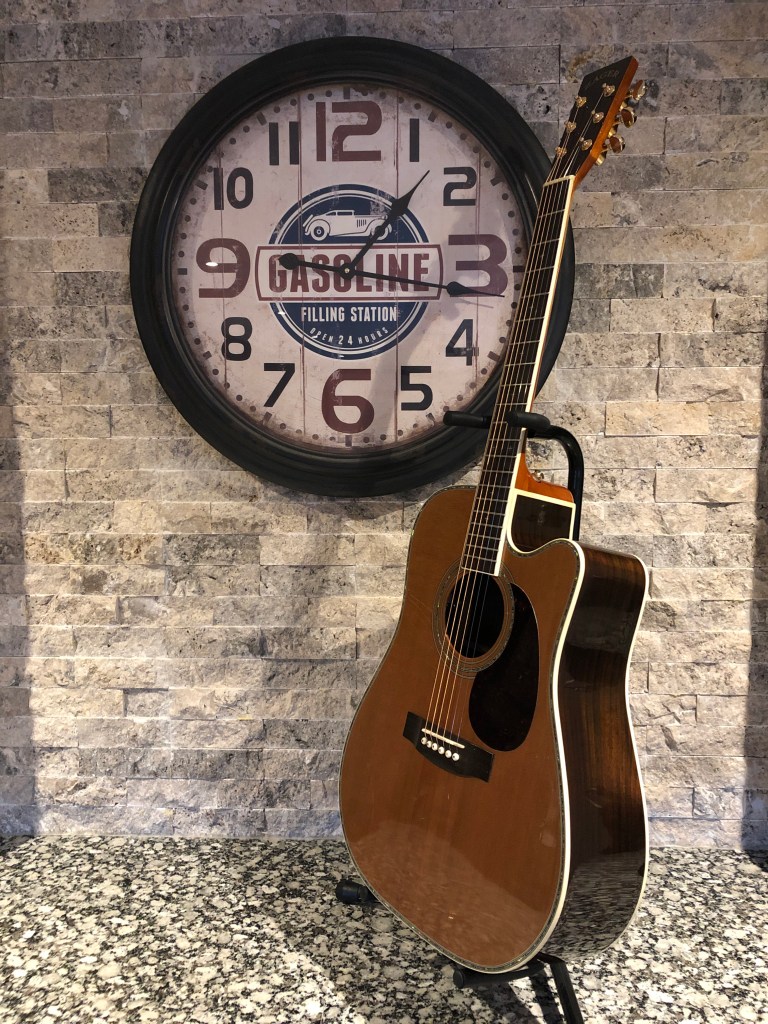
And now for the final reveal…
Might not look pretty, but it’s for listening to, not looking at. And at least it can now be listened to.
Thanks for checking this out. Now I just hope it holds. 😆
Beauty! Lovely details on that guitar–never heard of them before. It’s too bad that pictures can’t convey what a sweet job you do with action. I’ve seen you do some amazing things with action adjustments that I just love about your projects. Cheers maestro!


Beauty! Lovely details on that guitar–never heard of them before. It’s too bad that pictures can’t convey what a sweet job you do with action. I’ve seen you do some amazing things with action adjustments that I just love about your projects. Cheers maestro!
LikeLike